How to Stop Micro-Stuttering in PC Games: 7 Universal FPS Fixes
Eliminate annoying micro-stuttering in PC games with these 7 universal fixes for smoother frame rates, better frame pacing, and zero lag.
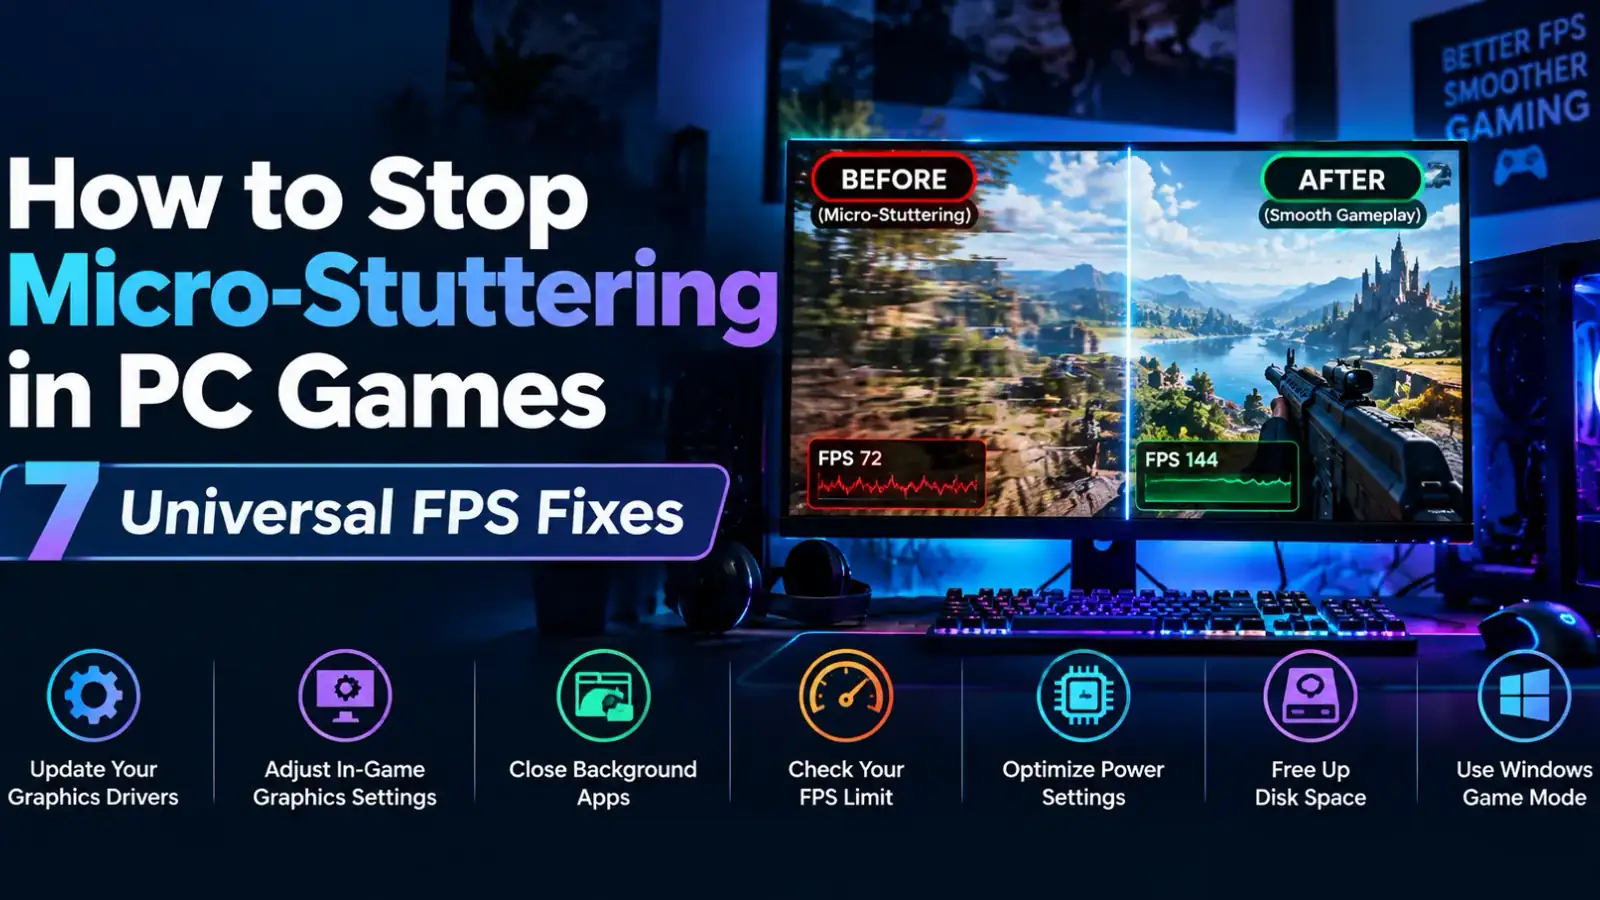
How to Stop Micro-Stuttering in PC Games: 7 Universal FPS Fixes
Nothing ruins an immersive gaming session faster than micro-stuttering. You check your frame rate counter, and it proudly displays 60, 100, or even 140 FPS—yet the gameplay feels jittery, unresponsive, and constantly hitches when you pan the camera or enter a new area.
This frustrating phenomenon occurs when your graphics card and monitor fall out of sync, leading to uneven frame delivery times. Unlike traditional low FPS lag, micro-stuttering is a frame pacing problem that affects budget PCs and high-end gaming rigs alike.
In this comprehensive guide, we will break down what causes micro-stuttering in PC games and walk you through 7 universal, step-by-step fixes to make your games run buttery smooth.
What is Micro-Stuttering and What Causes It?
To understand how to eliminate micro-stuttering, you first need to understand the difference between Frame Rate (FPS) and Frame Time.
○ Frame Rate (FPS): The total number of individual images your GPU renders in one full second.
○ Frame Time (ms): The exact duration in milliseconds it takes for your hardware to render each individual frame.
If your GPU renders 60 frames in a second, but Frame 1 takes 16 milliseconds while Frame 2 takes 50 milliseconds, your eyes perceive a sudden freeze or hitch. This inconsistent delivery is micro-stuttering.
PERFECT FRAME PACING (Smooth 60 FPS)
[16.6ms]───[16.6ms]───[16.6ms]───[16.6ms]───[16.6ms]

POOR FRAME PACING (Micro-Stuttering at 60 FPS)
[10ms]──────[52ms (STUTTER!)]──────[8ms]─────[25ms]
Common Causes of Micro-Stuttering:
○ Inconsistent frame delivery times and uncapped frame rates.
○ Shader compilation hitches in modern game engines (DirectX 12 / Unreal Engine).
○ Background application bloat exhausting CPU threads or system RAM.
○ Windows Power Plan throttling CPU clock speeds during heavy gameplay.
○ Thermal throttling of the CPU or GPU under high thermal load.
1. Lock Your Frame Rate to Match Your Monitor’s Refresh Rate
Allowing your graphics card to run wild and output uncapped frame rates often leads to severe frame time spikes. Setting a hard frame rate cap forces your GPU to deliver frames at consistent, predictable intervals.
Recommended Frame Rate Caps Based on Refresh Rate:
| Monitor Refresh Rate | Recommended FPS Cap | Best Tool to Use |
| 60 Hz | 58 FPS or 60 FPS | RivaTuner Statistics Server (RTSS) / In-Game Limiter |
| 120 Hz | 117 FPS or 120 FPS | Nvidia Control Panel / AMD Software |
| 144 Hz | 141 FPS or 144 FPS | Nvidia Control Panel / AMD Software |
| 240 Hz | 237 FPS or 240 FPS | In-Game Engine Limiter |
How to Cap FPS via GPU Drivers:
○ For Nvidia GPUs: Open Nvidia Control Panel > Manage 3D Settings > Global Settings. Scroll down to Max Frame Rate, turn it On, set your desired limit, and click Apply.
○ For AMD GPUs: Open AMD Software: Adrenalin Edition > Gaming > Graphics. Enable Radeon Chill or Frame Rate
○ Target Control (FRTC) and set your target limit.
2. Configure V-Sync and Variable Refresh Rate (G-Sync / FreeSync)
Misconfigured display synchronization settings are a leading cause of screen tearing and micro-stuttering. Combining G-Sync or FreeSync with an intentional frame cap delivers optimal visual stability.
The Ultimate G-Sync / FreeSync Setup Guide:
1. Enable G-Sync (Nvidia) or FreeSync (AMD) in your monitor's OSD hardware menu and GPU driver panel.
2. Turn V-Sync ON in your GPU Control Panel (this ensures proper frame pacing when framerates approach your monitor's refresh limit).
3. Turn V-Sync OFF inside individual game setting menus to avoid input delay conflicts.
4. Cap your maximum FPS 3 to 4 frames below your monitor's native refresh rate (e.g., cap at 141 FPS on a 144 Hz screen).
This configuration prevents G-Sync from constantly toggling on and off, completely eliminating screen tearing without introducing noticeable input latency.
3. Enable Game Mode and High Performance Power Plan in Windows
Windows includes power-saving policies that dynamically downclock your CPU cores when idle. During gaming, sudden shifts between low and high power states cause momentary hitches and dropped frames.
How to Enable High Performance Power Plan:
1. Press
Windows Key + R, typepowercfg.cpl, and hit Enter.2. Select High Performance (or Ultimate Performance if available).
3. Close the Control Panel window.
How to Enable Windows Game Mode:
1. Open Windows Settings (
Windows Key + I).2. Go to Gaming > Game Mode.
3. Toggle Game Mode to ON. This prioritizes CPU and GPU resources for active game processes while deprioritizing background system tasks.
4. Fix Shader Compilation Stuttering (Increase Shader Cache Size)
Modern games utilizing DirectX 12 or Vulkan render complex lighting, materials, and particle effects on the fly. When a game builds shaders in real-time, your CPU temporarily stalls, creating micro-stutters. Increasing your graphics driver's Shader Cache size allows Windows to permanently store pre-compiled shaders on your SSD.
How to Increase Shader Cache for Nvidia Users:
1. Right-click your desktop and open Nvidia Control Panel.
2. Go to Manage 3D Settings > Global Settings.
3. Locate Shader Cache Size.
4. Change the value from Driver Default to 10 GB or 100 GB.
5. Click Apply and restart your computer.
5. Disable Overlay Apps and Background Hardware Acceleration
Background utilities running overlay graphics inject third-party hooks directly into your game's rendering pipeline. Disabling unnecessary overlays frees up valuable CPU cycles and memory bandwidth.
Common Overlays to Disable:
○ Discord Overlay: Settings > Game Overlay > Toggle Off.
○ GeForce Experience / ShadowPlay: Settings > General > In-Game Overlay > Toggle Off.
○ Steam Overlay: Settings > In-Game > Uncheck "Enable the Steam Overlay while in-game".
○ MSI Afterburner / RivaTuner: Disable active monitoring plugins if not actively troubleshooting.
Additionally, disable Hardware-Accelerated GPU Scheduling (HAGS) in Windows settings (Settings > System > Display > Graphics Settings) if you experience stuttering in older games or emulation software.
6. Clear Standby RAM and Disable SysMain Service
On systems with 8GB or 16GB of RAM, Windows aggressively caches background files into Standby Memory. When a game demands fresh memory, Windows must clear standby cache on the fly, causing visible frame drops.
Disabling SysMain (Superfetch) Service:
1. Press
Windows Key + R, typeservices.msc, and press Enter.2. Scroll down and locate SysMain.
3. Right-click SysMain, select Properties, and click Stop.
4. Change the Startup type dropdown to Disabled.
5. Click Apply and OK.
7. Prevent Thermal Throttling by Servicing Hardware
If your system runs smoothly for the first 10 minutes of a gaming session and then begins micro-stuttering heavily, your computer is almost certainly suffering from thermal throttling.
When CPU or GPU temperatures cross safety thresholds (typically 85°C to 95°C), the silicon chip automatically scales back its operating frequency to prevent permanent hardware damage.
Recommended Hardware Maintenance Checklist:
○ Clear Dust Filters: Clean all intake fan filters, exhaust grilles, and GPU heatsink fins using compressed air.
○ Replace Thermal Compound: Reapply high-quality thermal paste to your CPU and GPU if your hardware is more than two years old.
○ Adjust Fan Curves: Use software like MSI Afterburner to set aggressive custom GPU fan speeds that kick in before temperatures breach 70°C.
○ Ensure Dual-Channel RAM: Running a single stick of RAM creates severe memory bandwidth limits. Always run memory in multi-channel configurations.
Final Thoughts
Micro-stuttering can be infuriating, but it is rarely a sign that you need to buy expensive new hardware. By enforcing consistent frame pacing with RTSS, locking your refresh rate correctly, optimizing Windows power settings, and keeping system temperatures under control, you can transform stuttery gameplay into a silky-smooth experience.
Start by locking your frame rate and adjusting your Shader Cache size today—these two simple software tweaks solve over 80% of frame pacing issues in modern PC games!
0 COMMENTS
Be the first person to share a thought.