The Ultimate Windows 11 Performance Tuning Guide for Older Hardware
A comprehensive guide to optimizing Windows 11 on older hardware by disabling telemetry, managing system resources, and tweaking core OS services.
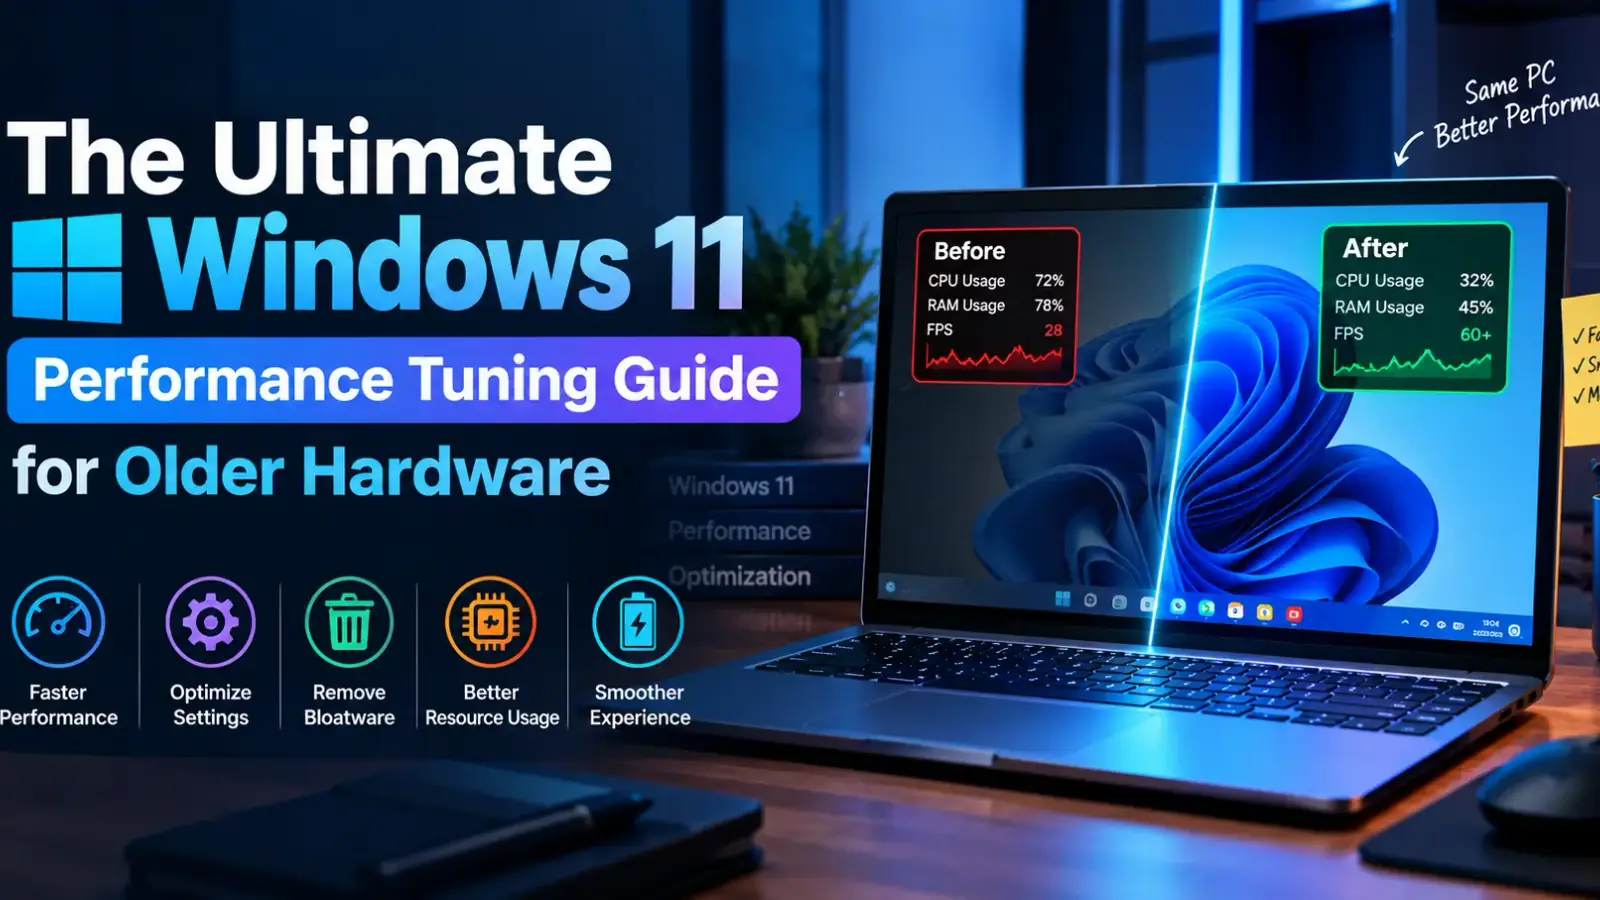
The Ultimate Windows 11 Performance Tuning Guide for Older Hardware
Upgrading to modern operating systems often comes at a steep performance cost for older or mid-range desktop PCs and laptops. While Windows 11 introduces a sleek, modern visual interface and updated security protocols, it also introduces resource-heavy background telemetry, visual effects, and automated system services that strain low-end hardware.
If your system experiences interface latency, high idle RAM usage, or storage bottlenecks after running Windows 11, complete system replacement is rarely necessary.
In this deep-dive optimization guide, we will examine the architectural bottlenecks of Windows 11 on aging processors and walk through a structured, multi-tier tuning process to restore responsiveness without compromising OS stability.
Understanding Windows 11 Hardware Resource Demands
Windows 11 demands significantly higher baseline system overhead compared to its predecessors. Understanding why these resource bottlenecks occur allows us to target specific background subsystems rather than blindly disabling core services.
       TYPICAL IDLE RESOURCE ALLOCATION (4GB / 8GB SYSTEMS)
┌─────────────────────────────────────────────────────────────┐
│ Windows Telemetry & Widgets (15-20%)                        │
├─────────────────────────────────────────────────────────────┤
│ Windows Defender & Background Indexing (20-30%)             │
├─────────────────────────────────────────────────────────────┤
│ Visual Effects & Desktop Window Manager (10-15%)            │
├─────────────────────────────────────────────────────────────┤
│ Free Available RAM / CPU Overhead for Applications (< 40%)  │
└─────────────────────────────────────────────────────────────┘
The Primary Hardware Bottlenecks:
○ Background Telemetry & Diagnostics: Continuous logging and telemetry services sending diagnostic data back to remote servers.
○ Storage I/O Saturation: High background disk operations caused by Windows Search Indexing and Superfetch (SysMain).
○ RAM Allocation Overhead: Desktop Window Manager (DWM) rendering fluid animations, acrylic blur effects, and drop shadows natively in system memory.
Step 1: Optimize Windows Visual Effects for Zero Input Latency
Windows 11 relies heavily on GPU-accelerated desktop composition. On low-end dedicated graphics cards or older integrated graphics (like Intel HD Graphics), rendering desktop transparency layers creates constant micro-stutters.
Disabling Desktop Transparency & Animations:
1. Open Windows Settings (
Windows Key + I).2. Navigate to Accessibility > Visual Effects.
3. Toggle Transparency effects to OFF.
4. Toggle Animation effects to OFF.
Advanced Performance Tweaks via System Properties:
1. Press
Windows Key + R, typesysdm.cpl, and press Enter.2. Select the Advanced tab and click Settings under Performance.
3. Select the radio button for Adjust for best performance.
4. To maintain font legibility, check the box for Smooth edges of screen fonts.
5. Click Apply and OK.
Step 2: Manage System Telemetry and Diagnostic Services
Microsoft's default diagnostic collection continuously logs system events, consuming background CPU cycles and active storage bandwidth.
| Service / Feature | Default State | Optimized State | System Impact |
| Diagnostic Data | Optional / Full | Minimum Required | Reduced CPU background activity |
| Windows Widgets | Enabled | Disabled | Saves 300MB–500MB idle RAM |
| Tailored Experiences | Enabled | Disabled | Stops background network polling |
Disabling Non-Essential Diagnostic Logging:
1. Open Settings > Privacy & security > Diagnostics & feedback.
2. Expand Diagnostic data and select the minimal data collection option.
3. Scroll down to Tailored experiences and toggle the switch to OFF.
4. Go to Privacy & security > Search permissions and toggle Show search highlights to OFF.
Step 3: Streamline Startup Services and Background Apps
When Windows boots, dozens of third-party helper applications attempt to load their background updates concurrently. Unchecking these non-critical services drastically speeds up boot sequences and lowers idle RAM consumption.
Cleaning Up Task Manager Startup Entries:
1. Open Task Manager (
Ctrl + Shift + Esc).2. Click the Startup apps icon on the left sidebar.
3. Review the list of applications with an Enabled status.
4. Right-click unnecessary startup applications (e.g., cloud sync utilities, chat applications, media updaters) and select Disable.
Step 4: Reconfigure Virtual Memory (Paging File Allocation)
Virtual memory acts as an extension of physical RAM by utilizing designated blocks of your system's storage drive. When physical RAM fills up, Windows swaps low-priority data pages to the storage drive. Correctly configuring static paging file bounds prevents continuous dynamic resizing lag.
FORMULA FOR STATIC PAGING FILE ALLOCATION:
- Initial Size (MB) = 1.5 x Total Installed Physical RAM
- Maximum Size (MB) = 3.0 x Total Installed Physical RAM
Step-by-Step Paging File Adjustment:
1. Open System Properties (
sysdm.cpl) > Advanced tab.2. Under Performance, click Settings > Advanced tab > Change under Virtual Memory.
3. Uncheck Automatically manage paging file size for all drives.
4. Select your system partition (C: drive) and choose Custom size.
5. Enter the calculated values based on your physical memory into Initial size and Maximum size.
6. Click Set, then OK, and reboot your computer.
Step 5: Disable Windows Game Bar & Background Capture
Unless you actively use built-in gameplay recording tools, Windows Game Bar continuously reserves video encoding bandwidth in the background.
1. Open Settings > Gaming > Xbox Game Bar.
2. Toggle Allow your controller to open Game Bar to OFF.
3. Select Captures from the left menu and ensure Background recording is set to OFF.
Summary & Maintenance Best Practices
Optimizing Windows 11 for older hardware isn't about running dangerous third-party script utilities that strip core system files. It is about applying methodical, surgical adjustments to OS subsystems that consume system resources without adding functional value to your daily workflow.
By applying these core optimizations—disabling transparency, locking paging file parameters, trimming telemetry, and clearing startup bloat—you ensure that every available hardware cycle goes directly toward your active applications.
0 COMMENTS
Be the first person to share a thought.