How to Make a Low-End PC Fast and Smooth: 7 Proven Hardware & OS Fixes
Learn how to make a low-end PC fast and smooth with proven hardware tweaks, thermal fixes, and Windows optimizations to eliminate lagging instantly.
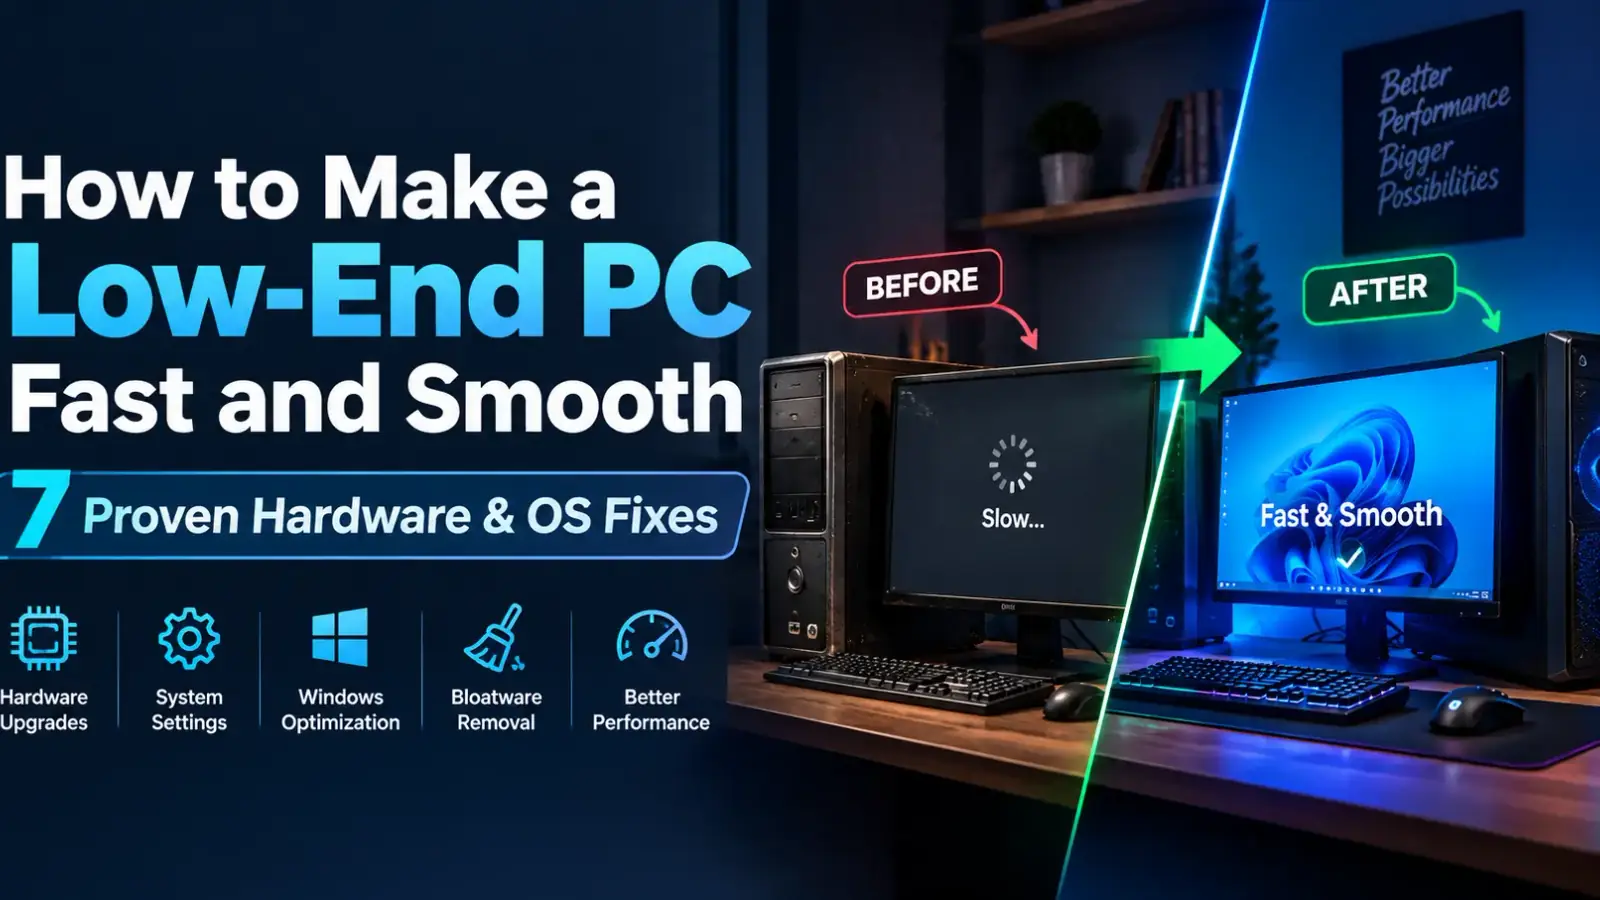
Is your budget PC or older laptop freezing every time you open a few browser tabs? Does Windows take forever to boot up, leaving you staring at a loading screen for minutes?
You don't need to spend hundreds of dollars on a brand-new computer to get decent performance. With a few strategic hardware maintenance steps and software tweaks, you can breathing new life into older machines.
In this guide, we will break down exactly how to make a low-end PC fast and smooth without breaking the bank.
1. Replace Your Old Hard Drive with a Solid-State Drive (SSD)
If your computer is still running on a traditional mechanical Hard Disk Drive (HDD), it is likely the single biggest bottleneck slowing down your system. Modern operating systems like Windows 10 and Windows 11 are designed for high-speed read/write performance.
       MECHANICAL HDD                    SOLID-STATE DRIVE (SSD)
┌───────────────────────────┐         ┌───────────────────────────┐
│ Moving Magnetic Disks     │   VS    │ Flash Memory Chips        │
│ 80 - 120 MB/s Speed       │         │ 500 - 3500+ MB/s Speed    │
│ 2 to 5 Minute Boot Time   │         │ 5 to 10 Second Boot Time  │
└───────────────────────────┘         └───────────────────────────┘
Upgrading to even an affordable 2.5-inch SATA SSD transforms performance overnight. Your boot times will drop from minutes to seconds, apps will launch instantly, and system freezing will disappear.
2. Upgrade Your RAM to Dual-Channel Mode
System memory (RAM) is your computer's short-term workspace. If you only have 4GB of RAM—or a single 8GB stick running in single-channel mode—your system will constantly struggle when multitasking.
Why Dual-Channel RAM Matters:
Single-Channel (1 Stick): The CPU transfers data along a single 64-bit data path.
Dual-Channel (2 Sticks): Using two identical RAM sticks (e.g., two 4GB or two 8GB sticks) doubles the memory bandwidth to 128-bit, vastly improving frame rates in games and smoothness in everyday tasks.
3. Clean Internal Dust and Replace Dried Thermal Paste
Over years of use, computer fans suck in dust, clogging heat sinks and air vents. Simultaneously, the thermal paste—the conductive compound between your CPU chip and cooler—dries up and turns to powder.
When a processor cannot dissipate heat, it triggers thermal throttling. The CPU deliberately cuts its clock speed in half to prevent overheating, making your PC feel sluggish.
Quick Thermal Maintenance Steps:
Open your PC cabinet or laptop back panel.
Use a can of compressed air to clear dust out of the cooling fans.
Gently wipe off the dried thermal paste using isopropyl alcohol.
Apply a small pea-sized drop of fresh thermal paste before mounting the cooler back.
4. Disable Startup Bloatware
Many background applications automatically configure themselves to launch the moment you log into Windows. Apps like Skype, Spotify, Steam, and OneDrive run continuously in the background, consuming valuable RAM and CPU cycles.
How to Disable Startup Apps:
Press
Ctrl + Shift + Escto open Task Manager.Click on the Startup Apps tab (or Startup tab on older Windows versions).
Right-click on non-essential applications and select Disable.
5. Optimize Windows Performance and Visual Effects
Windows includes fancy visual animations, shadow effects, and window transitions that consume system resources on lower-tier graphics chips.
Disabling Visual Effects for Maximum Speed:
Press
Windows Key + R, typesysdm.cpl, and hit Enter.Go to the Advanced tab and click Settings under Performance.
Select "Adjust for best performance".
(Optional) Keep "Smooth edges of screen fonts" checked to keep text readable.
Click Apply and OK.
6. Fix High RAM Usage in Chrome & Edge Browsers
Modern web browsers are notoriously memory-hungry. Opening multiple tabs can quickly consume 4GB to 6GB of memory, causing low-end systems to crash.
Enable Memory Saver: Both Google Chrome and Microsoft Edge now include built-in "Memory Saver" features that automatically put inactive tabs to sleep.
Limit Unnecessary Extensions: Remove unused browser extensions, ad blockers, or theme mods that run background scripts on every website you visit.
7. Adjust Virtual Memory (Pagefile Size)
When your physical RAM gets completely full, Windows uses a portion of your storage drive as temporary memory called Virtual Memory (Pagefile). Manually setting a fixed virtual memory size prevents system stuttering when RAM limits are reached.
How to Adjust Virtual Memory:
Open System Properties (
sysdm.cpl) > Advanced tab > Performance Settings.Click the Advanced tab inside Performance Options, then click Change under Virtual Memory.
Uncheck "Automatically manage paging file size for all drives".
Select your primary drive (C:), click Custom Size, and set the Initial size to 1.5x your total RAM and Maximum size to 3x your total RAM (in MB).
Final Thoughts
You don't need a high-end rig to enjoy a smooth computing experience. By pairing a cheap SSD upgrade with basic thermal maintenance and smart Windows tweaks, you can make even an older, low-end PC feel remarkably fast and responsive.
Start with the free software optimizations today, and when budget permits, invest in an SSD—it is easily the best value-for-money upgrade you can make!
0 COMMENTS
Be the first person to share a thought.